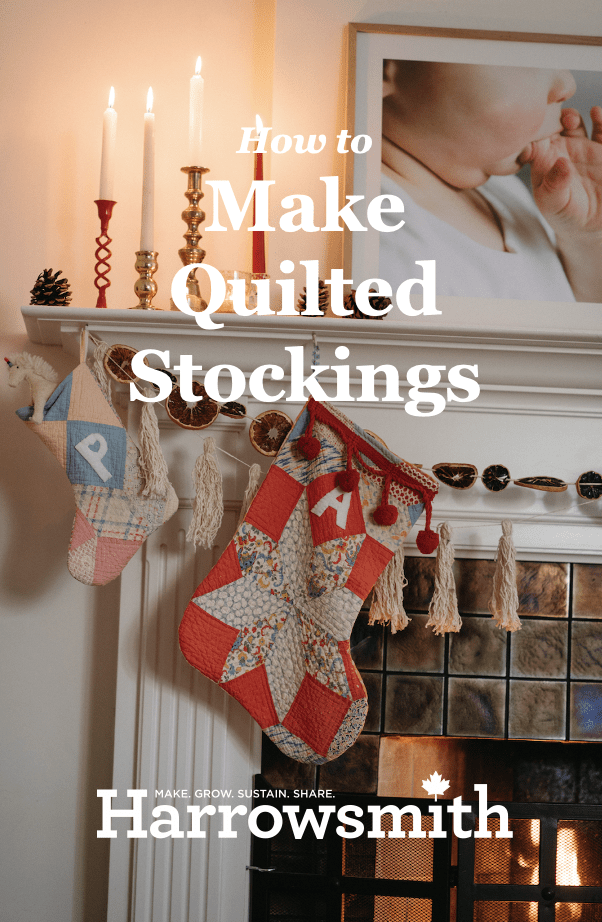


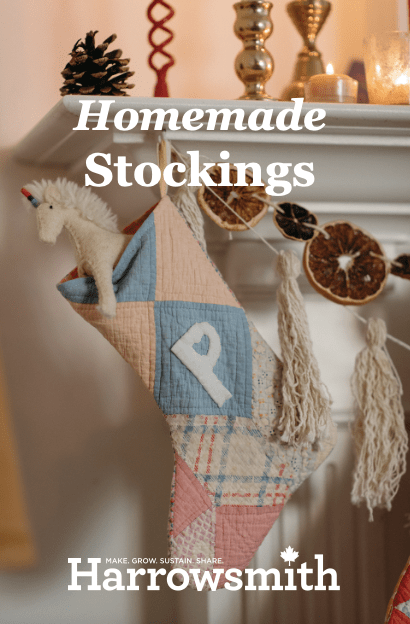
Clearing out your fabric scraps box and making colourful quilted stockings is a win-win. To make this stocking, Claire Dam (who also took these photos) started with a vintage quilt that was dear to her but not in good enough shape to use on the bed or as a throw.
Step 1 Select the fabric you want to be on the outside of your stocking — this is your hero fabric. And determine what fabric you will use for a liner — something silky but firm will work best. Lay out the fabric, grab your template, pin it to the fabric and cut out two pieces of your hero fabric and the liner fabric, leaving a half inch around it. At this point, the inside faces in, the wrong side is out, and all of the fabric is doubled.
Step 2 Start with the hero fabric and sew the pieces together around the sides and bottom, leaving the top open. The stocking is still inside out at this point.
Once you’re done sewing it, make some tiny cuts around the heel and the toe of the stocking between the stitching and the edge to ensure you’ll have a crisp line on the rounded portions of the heel and the toe when you turn it right side in. Continue to leave the stocking inside out while you start on the liner.
Step 3 Sew your liner as a separate piece. This is what you will be putting inside the stocking to give it a nice shape and the sturdiness it needs to sit on the mantle and hold the trinkets and gifts inside. Sew this around one side and the foot of the stocking but leave about 3 inches on one side unsewn for now until the stocking is assembled.
Step 4 Take your hero fabric and turn it right side in. With the liner sill inside out, put it over top of the hero fabric of the stocking, linking up the seams. Pin around the top of the stocking (the open, unsewn part on both the stocking and liner) and then sew it together.
This will leave you with the liner over the top of the hero piece of fabric. Then, what you want to do is put your hand through the 3-inch hole you left in the liner and pull out the outside of the stocking with the hero fabric.
Step 5 Before you tuck the liner back in to finish the stocking, sew the 3-inch hole closed (it doesn’t have to be perfect because it’s inside the stocking), and then push it back inside.
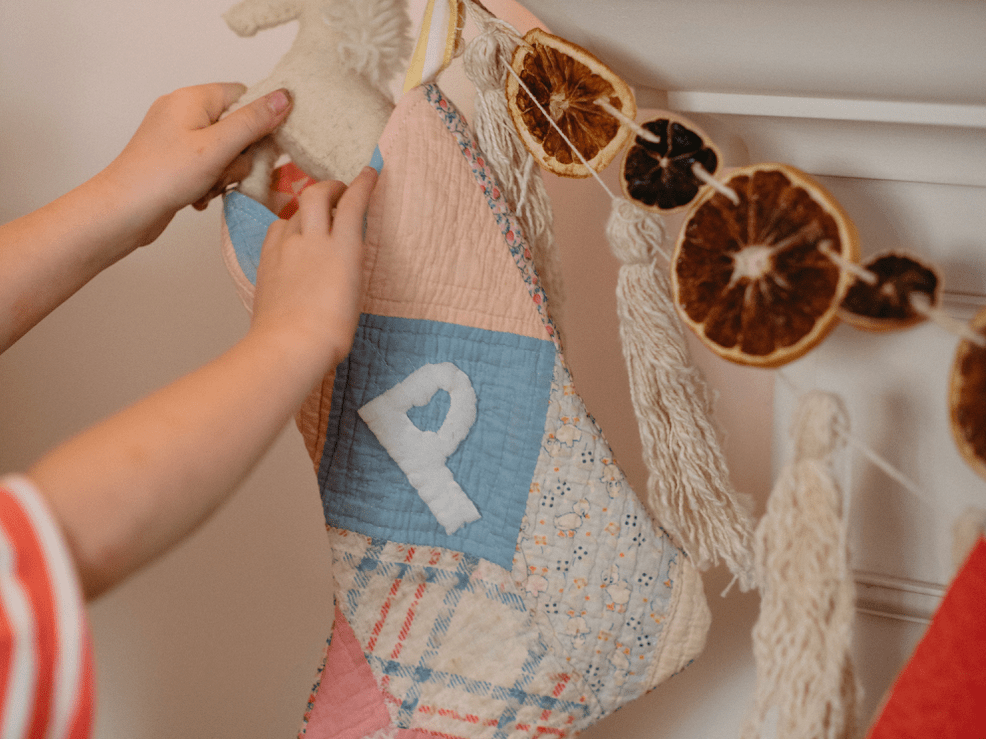
Step 6 Sew a loop to hang the stocking and add ribbon, fabric letters, pompoms or other embellishments.
We found this video that has a great demonstration of the process Claire has followed.
5 free DIY stocking patterns to check out
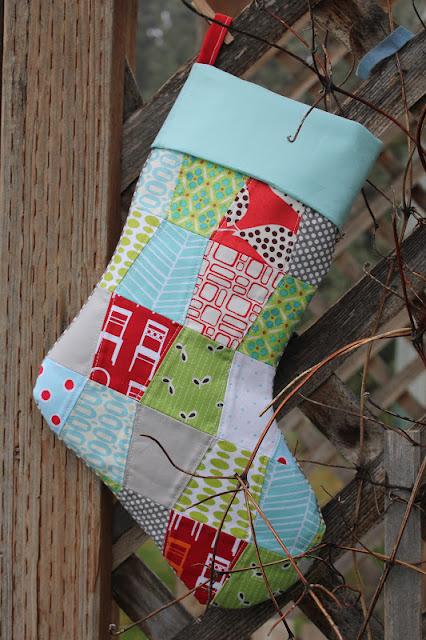
- Diamond Centre Stocking

This elegant diamond centre stocking pattern will put your prettiest fabric scraps to good use. Mixing muted solid colours and simple prints gives this project by Suzy Quilts timeless appeal.
2. Multi-Hued Geometric Stocking
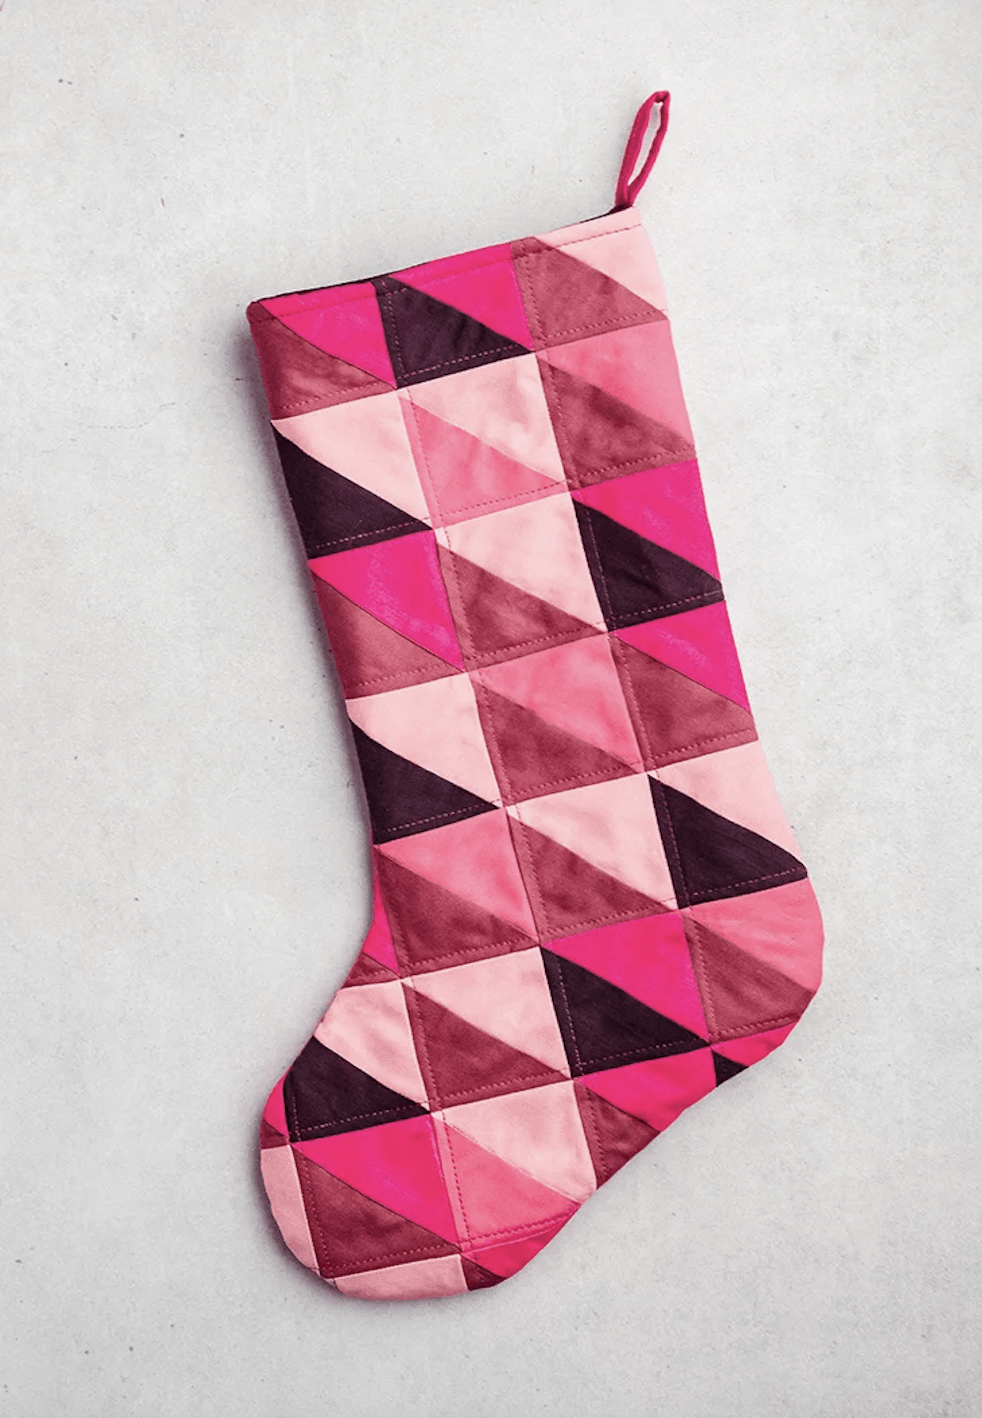
This triangle pattern by Sarah Maker makes great use of smaller fabric scraps in all colours. The repeated pattern ties the palette together.
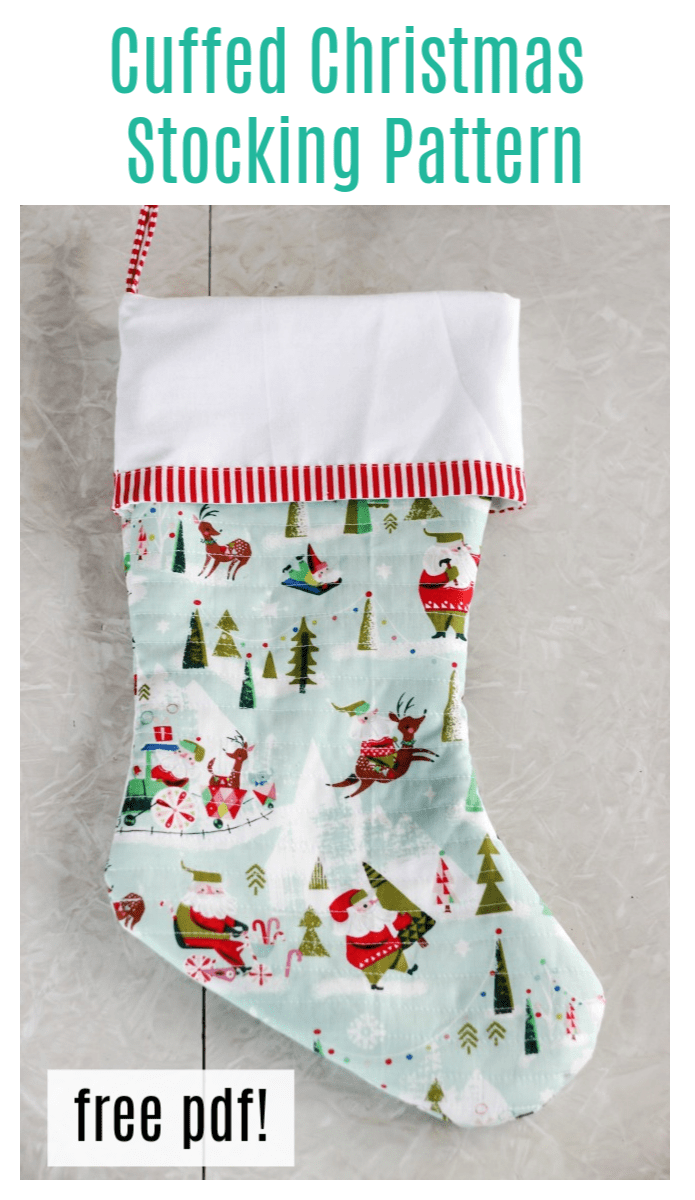
3. Cuffed Stocking
This cuffed stocking how-to from Frozen Knickers gives simple instructions to create a stocking traced from whatever shape and size you desire. This tutorial leaves the cuff bare, but you can easily add ribbon, an initial or whatever you like.
4. A Stocking for Beginner Sewers

A good project for beginner sewers, here’s another cuffed stocking complete with a PDF template you can trace. This is a good way to turn a festive blanket or pair of PJs into a stocking you can cherish for many years to come.
5. The No-Sew Stocking

Not everyone has a sewing machine and lots of time to pull together a DIY project. Don’t fret; fabric, ribbon, scissors and a glue gun are all you need to follow this new-sew Christmas stocking DIY tutorial.