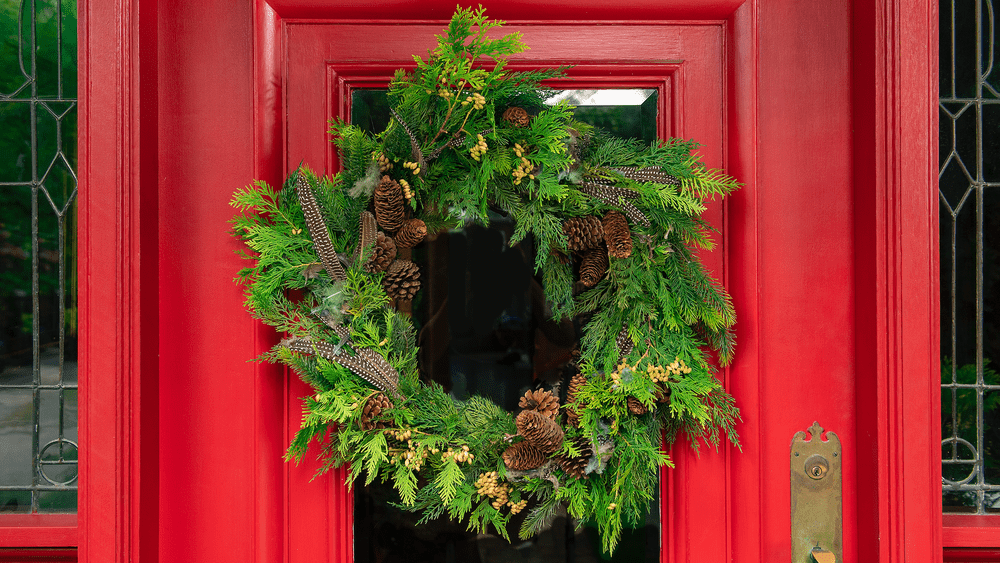
While the custom of hanging wreaths comes from the Romans, who added circular creations to their doors as a sign of victory, forming boughs and branches into a circle has traditionally symbolized “the strength of life” in many cultures over the years. Today, many of us hang a wreath on the front door as a way to celebrate the seasons and the cycles of growth.

Here’s what you’ll need:
Materials
- Evergreen boughs clipped from your shrubs or found at your local garden centre
- Cones, berries, feathers (found or from your local craft store), twigs and seed pods
- Grapevine wreath
- Pruners
- Gloves
- Wire and twine

To Make
Start creating your wreath by collecting an assortment of boughs of greenery and clipping them into 15 to 20 cm (6 to 8 inch) long pieces. Here, we used a combination of spruce, dark green B.C. cedar and lighter green emerald cedar branches with cones. Next, layer the branches together and pinch the bottom so that the greenery fans out and the stems can be wrapped together with wire or twine. Be sure to leave a “tail” of extra wire or twine (about 30 cm/12 inches) on the bough for attaching later. Once the bunch looks nice and full, continue adorning it with feathers, berries and cones.
Once you have created ten to 12 bunches, snip off any long stems on the end. Using a grapevine wreath as your base, place the first evergreen bouquet bundle on top and secure it with the wire or twine you left on the end (if you forgot this step, wrap twine around the bunch and the grapevine wreath until secured). Gather the second bundle of foliage and overlap the stems on the first bunch. Wire it around the wreath base and continue this process, adding to the wreath until it is full and you don’t see any of the bottom twiggy bits.

Take one last look at your creation, and wire in a few more greens where needed to even out the design. Take it one step further by adding additional feathers, twigs, cones, ornaments or ribbons.
Care: Keep fresh with twice-weekly squirts of water from a spray bottle.

Photography by Michael Hope.

Jennifer Reynolds, our previous Editor-in-Chief, is a long-time authority in gardening, do-it-yourself projects, urban sustainability, parenting, placemaking and community matters. Her features and columns have been published in Canadian Living, Canadian Family, Gardening Life, House & Home, Globe & Mail, National Post, Toronto Star & more. Plus, her designs and expertise have been featured on dozens of HGTV, W Network and CTV shows.


