Fact is, life in the garden starts and ends with dark, black soil: in one teaspoon of soil, there are billions of living organisms. None of the green life above ground could happen if not for the little organisms teeming under the surface, and when the green life above earth has run its course, that is exactly where it goes — back to the little organisms in the soil.
Soil as a living thing has its own requirements: food, water and oxygen. We are most interested in the food aspect, because well-fed soil tends to take care of itself in terms of building both a healthy soil structure to promote aeration and a healthy relationship with water (good drainage without suffering from erosion).
Soil’s favourite food is without a doubt compost — sub-surface life such as bacteria, fungi, protozoa, nematodes and earthworms feast on the stuff while creating a biological conveyor belt of nutrients right into the root zone of your plants. Adding compost is the single greatest favour you can do for your soil, and as favours with Mother Nature tend to go, she gives back generously. Add the black stuff and see the green growth gratuitously.
If you’re a human who eats food, which we’re assuming you are, there is little excuse not to be producing your own compost to feed back to the soil. That’s because roughly 50 percent of our compostable materials are thrown away, according to Susan Antler, executive director of the Composting Council of Canada. That isn’t just a waste in terms of lost composting opportunities; it also has broader environmental implications. Organic matter that ends up in landfill generally breaks down anaerobically (without oxygen), producing higher concentrations of methane, which, as a greenhouse gas, is 21 times more potent per gram than carbon dioxide.
Here are 10 tips for getting compost going in your own backyard, so you and your soil can start reaping the benefits.
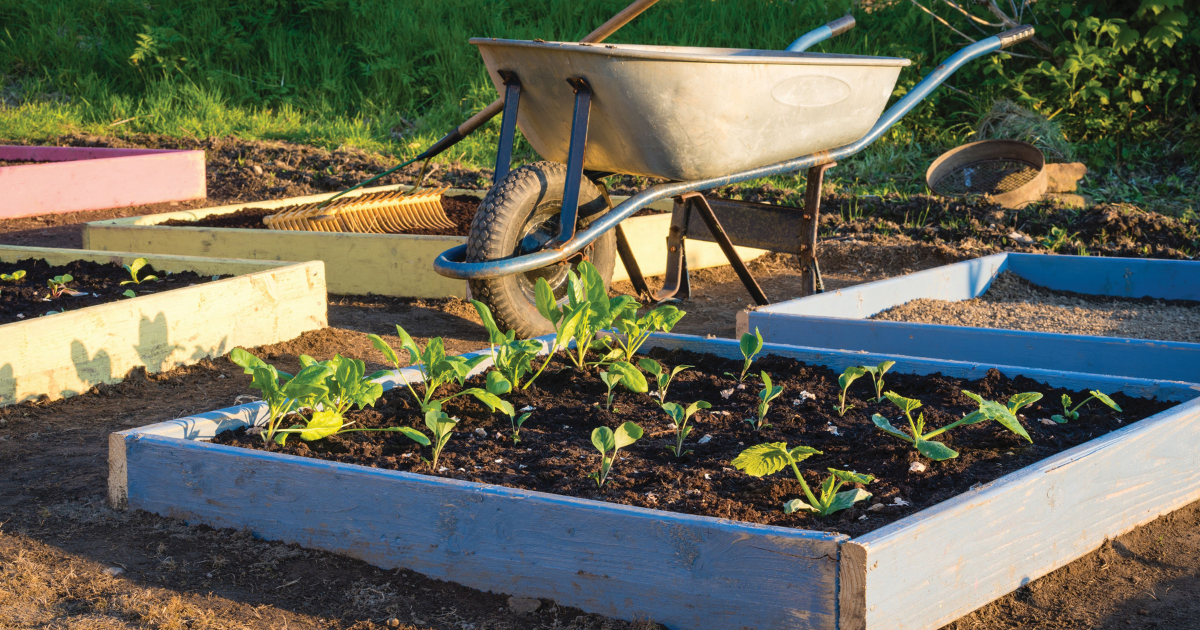
1. Remember, like everything, it starts with real estate. Ideally, this would be a sunny, well-drained spot that is protected from wind and not too far from the kitchen door so you will stay motivated to carry those scraps out rather than turf them into the garbage bin in the garage. How close you want to have a heap of decomposing matter to the kitchen is up to you.
2. If you’re going to build a composter, make sure you design it to have adequate ventilation in the sides. Building a composter is a fun way to use up scrap lumber or fencing material. Chain-link fence makes a great “wall,” as it holds material and maximizes airflow. Remember to add at least one removable side, which will make it a lot easier to empty the composter when your batch is finished. Leave the bottom open to encourage earthworms to migrate up from the soil below—they are going to be an important part of this whole process.
3. Get the party started with a shovelful of finished compost. Sort of like starter for sourdough bread, the existing life in compost will jump-start the breakdown of new material.
4. Respect the golden ratio: green plus brown equals black gold. That is, five to 10 parts brown to one part green. The brown matter includes fallen leaves and shredded newspaper or cardboard, all of which are rich in carbon; the green is organic matter, such as kitchen scraps, which is high in nitrogen. Respecting this golden ratio will give you a balanced compost and prevent the pile from getting stinky. You can add these materials in layers, starting with 10 to 15 cm of brown material, adding a green layer that is half as thick, and continuing to alternate layers.
5. Avoid adding oak leaves, black walnut leaves and anything poisonous (sumac, ivy, oak). Oak leaves have a thick texture, which makes them slow to break down, unless you mulch them with a lawnmower first. Black walnut produces juglone, a chemical that harms the growth of other plants and survives through the composting process.
6. Aerate your compost. As it is an aerobic process, compost needs to breath, so make sure you aerate your compost pile every few weeks by turning it over with a garden fork. Neglecting to do so won’t result in a worse product — it just takes a lot longer to get it.
7. Watch your worms. Earthworms can tell you if you’re getting this right, as they are the ones doing much of the heavy lifting in the composter. When you turn over the composter to aerate it, pay attention to the population of earthworms. There should be plenty, so if you can’t find any, think about what might be missing from the pile. Too much or too little brown or green matter, not enough oxygen or water are also common problems.
It’s important to keep the composter going through the winter. Not only will that provide you with a quality supply in time for spring, but you are also likely going to continue producing kitchen scraps throughout the winter months! There are some things to think about, however, when the weather turns frigid (see tip No. 9).
8. Cover your compost with a lid, roof or tarp. This is essential for keeping out excess moisture. There should be adequate moisture from the breakdown of materials.
9. Protect your composter from wind by placing it in a sheltered area or installing a windbreak. Chilling winds can cause frost buildup, which slows the process down.
10. Keep adding material! Like a fire, it is hard to get a composter going in the cold depths of winter, but if you continue to add material, there will be fuel to support the heat-activating processes that produce compost for spring. You might find that breaking the material down into smaller pieces helps it decompose more readily, which can also help the process, so the compost chugs along through the cold.
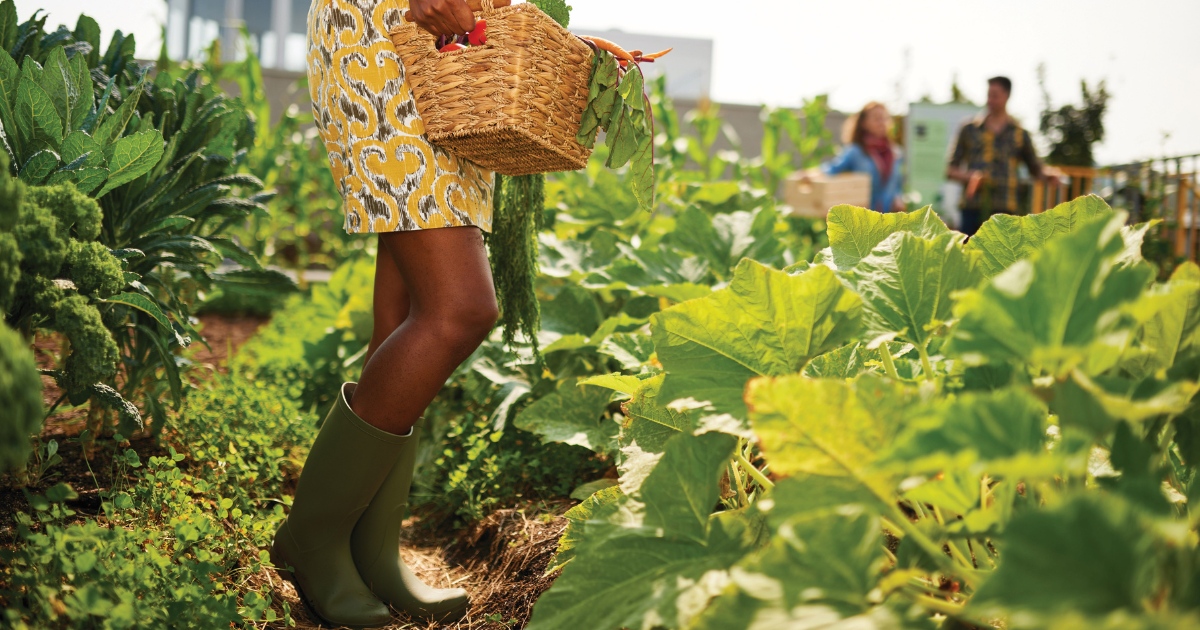
When the material in your compost pile stops shrinking down, you will find it is ready to apply. Leave some compost in the bottom of the bin as a starter for the next batch, and apply the rest by spreading it over the surface of the soil. Earthworms will be there in no time to bring it down into the soil where it belongs. Avoid the temptation to turn it in, as the cultivation does more harm than good. When the earthworms have had the chance to distribute this black gold among their living friends beneath the surface of the soil, you still start to see the green dividends above ground: a virtuous green-and-black cycle of life giving gold.
Mark Cullen is an expert gardener, author, broadcaster and tree advocate
and holds the Order of Canada. His son, Ben, is a fourth-generation
urban gardener and a graduate of the University of Guelph and Dalhousie
University in Halifax. Follow them at markcullen.com, @MarkCullen4
(Twitter) and @markcullengardening (Facebook) and look for their latest book, Escape to Reality.
Follow them at markcullen.com, @MarkCullen4, facebook.com/markcullengardening and biweekly on Global TV’s national morning show, The Morning Show.