

There is not much you can do about the Canadian growing season—its brevity is just a fact of life for Canadian gardeners. We like to say that Canadian gardeners get 4 to 6 months off, depending on where you live.
We consider ourselves lucky that we have cold, long winters. The season kills off a host of pests that would make growing here otherwise a lot more challenging. That said, at the beginning and end of the season, over-enthusiastic gardeners can find themselves getting into trouble with late or early frosts.
Thankfully, we have creative ways to extend the season that can open a world of new opportunities for Canadian gardeners.
1. Recycle & Make Cloches
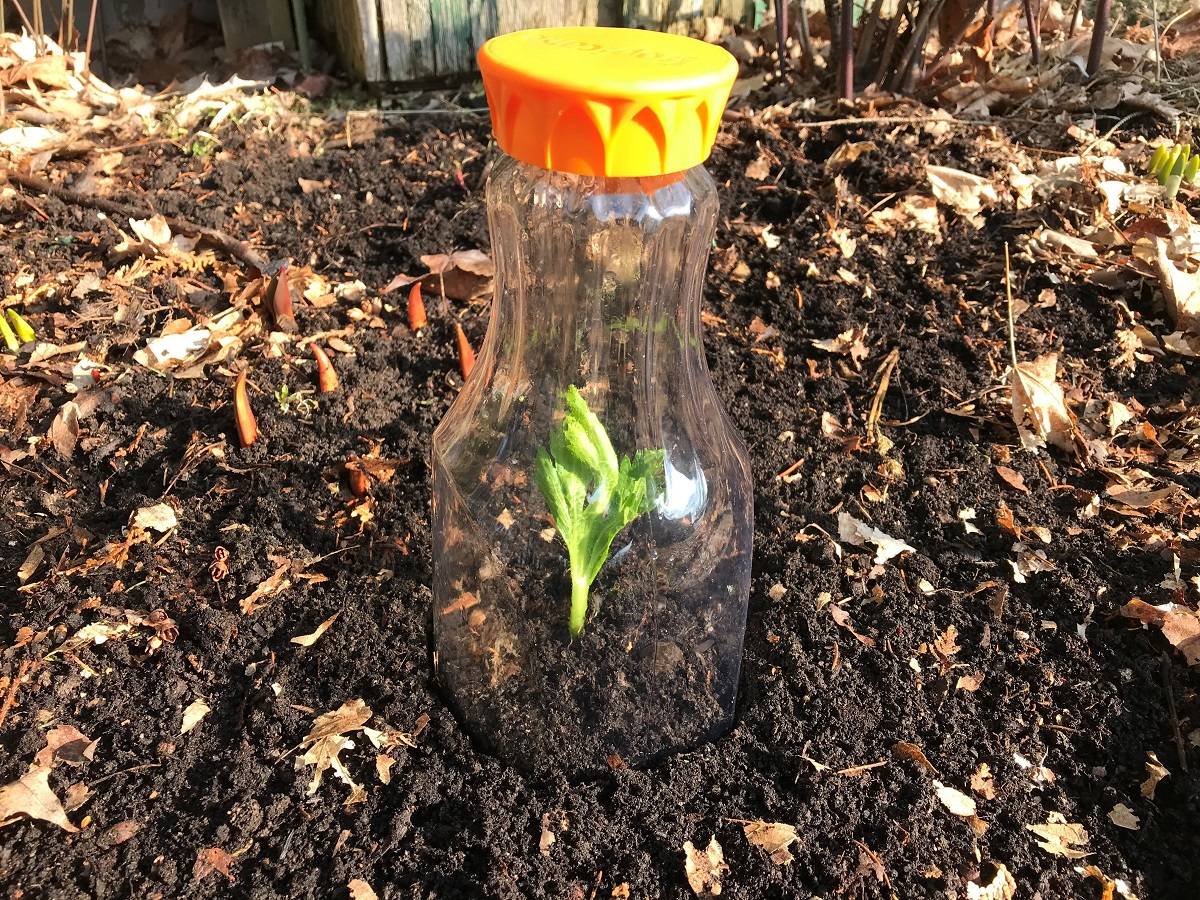
We love this idea because it involves recycling and costs nothing. If you were to buy a cloche, it looks like a bell-shaped hat made of translucent plastic that can be placed over tender plants to create a micro-greenhouse effect. In the fall, you could use a large cloche to protect your peppers or tomatoes past the first frost; in the spring, a small cloche will keep your transplants safe before the last frost and can help with “hardening off” when you are transferring them from the indoors.
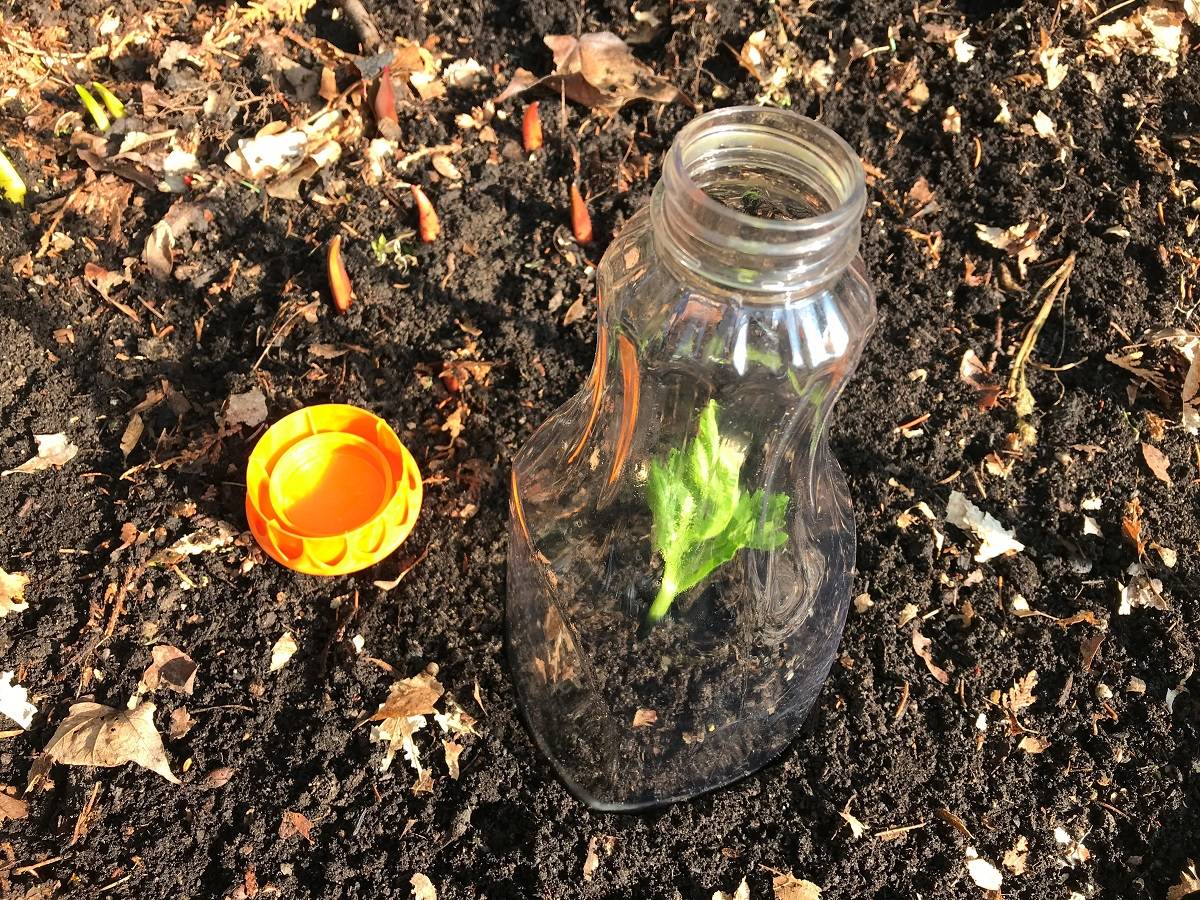
Finding a “recycled cloche” is as easy as repurposing a clear plastic bottle such as a juice or milk jug. Simply cut the bottom off and place it over your plants with the lid on for the colder days; remove the lid when things warm up and you require some ventilation. To build a large cloche, use wooden sticks to create a teepee over the desired plant, wrapping clear plastic around it. Secure with string or staples.
2. Use Row Covers
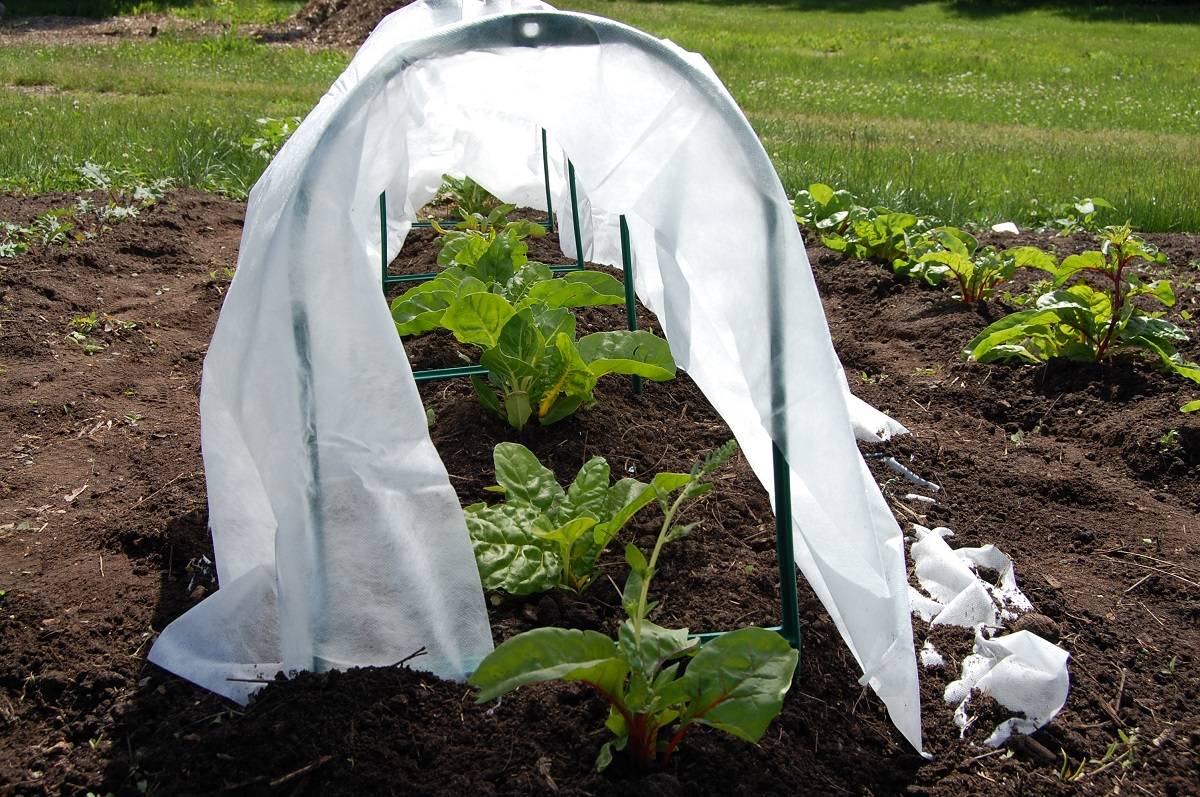
There is wisdom in maintaining a structure over your veggie garden that can be draped throughout the season with appropriate covers. In the shoulder seasons of early spring and late fall, a clear plastic cover will offer the greatest solar advantage for season extension. Greenhouse plastic works well, as does an old white bedsheet. Often, professional growers have an excess of used clear plastic (at least 6 mm, or 1/4 inch, thick), which they are happy to give away. Clear plastic can also be purchased from hardware or garden centres or online from a garden supply company.
How you suspend your row covers is subject to creativity. You can create a small “hoop house” over your rows by purchasing purpose-made row-cover hoops or adapting things you might have lying around. Mark has a special row-cover tunnel in his Mark’s Choice line at Home Hardware. The kit includes sturdy plastic hoops and permeable white fabric that allows sunshine and rain through but insulates against light frost.
We have seen hula hoops cut in half to arch over rows, anchored by spikes into the ground and up into the hollow hoop. Or you can build a rectangular wooden frame over the garden beds, and drape the appropriate row covers overtop, like a box. This approach was taken by Mark’s daughter Emma’s mother-in-law at her allotment garden in London, England—and we trust British allotment gardeners when it comes to resourcefulness in the veggie garden. The beauty of a wooden box-frame shape is that any amateur carpenter can put it together using scrap lumber.
Once you have decided how to suspend your row covers, we recommend that you consider leaving them up throughout the entire gardening season. Clear plastic covers are great for warmth in the spring and fall, and white remay fabric provides chemical-free pest control throughout the whole season while shade cloth protects cooler crops into the heat of midsummer.
3. Make a Cold Frame
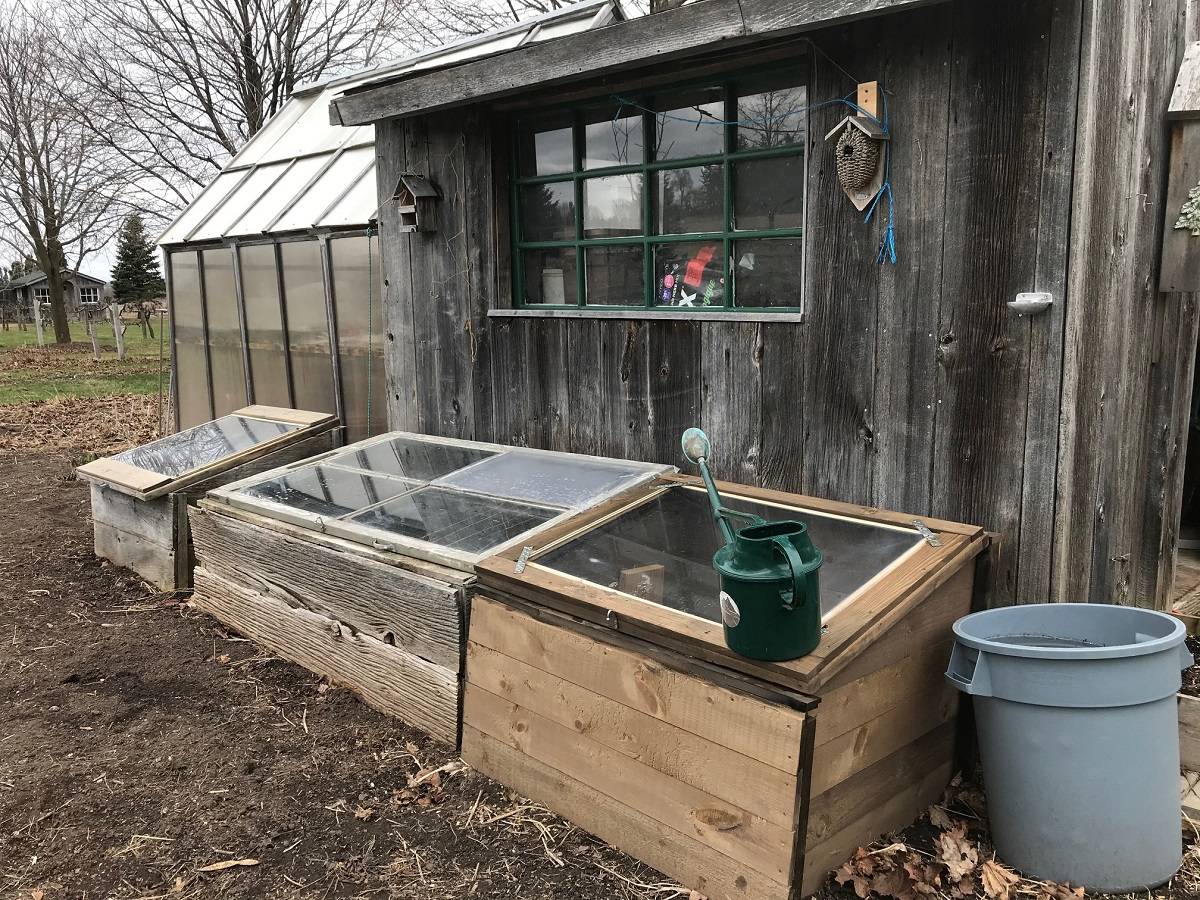
Speaking of scrap lumber, here is another job for the amateur carpenter. The term cold frame is really a misnomer, as the idea is to trap heat close to the ground using a glass cover angled toward the sun for a mini-greenhouse effect. We should call it a “warm frame”; however, we are not yet in charge of the English language.
A cold frame is a perfect place for that early (or late) crop of mesclun mix, leaf lettuce, kale or Swiss chard, which can survive well below freezing in the cozy comfort the frame provides. The magic of a cold frame is its ability to intensify and hold the strength of sunshine.
If you’re building your own, start by using an old window or some clear plastic, since it is easier to build around whatever size of material you might find. Add hinges to one of the long sides of the window (or frame stretched with clear plastic), as this will make a lid that can be propped open for ventilation as need be. Build a wooden box that will angle the lid 15 degrees toward the south or west; you will be relying on the Pythagorean theorem to determine the depth of the box, based on the degree angle and whatever size of window or lid you come up with. We are not math specialists, but you read Harrowsmith, so we assume you are clever. On the low side of the box, provide about 50 cm (20 inches) of clearance—tall enough to allow room for plant growth without shading the interior.
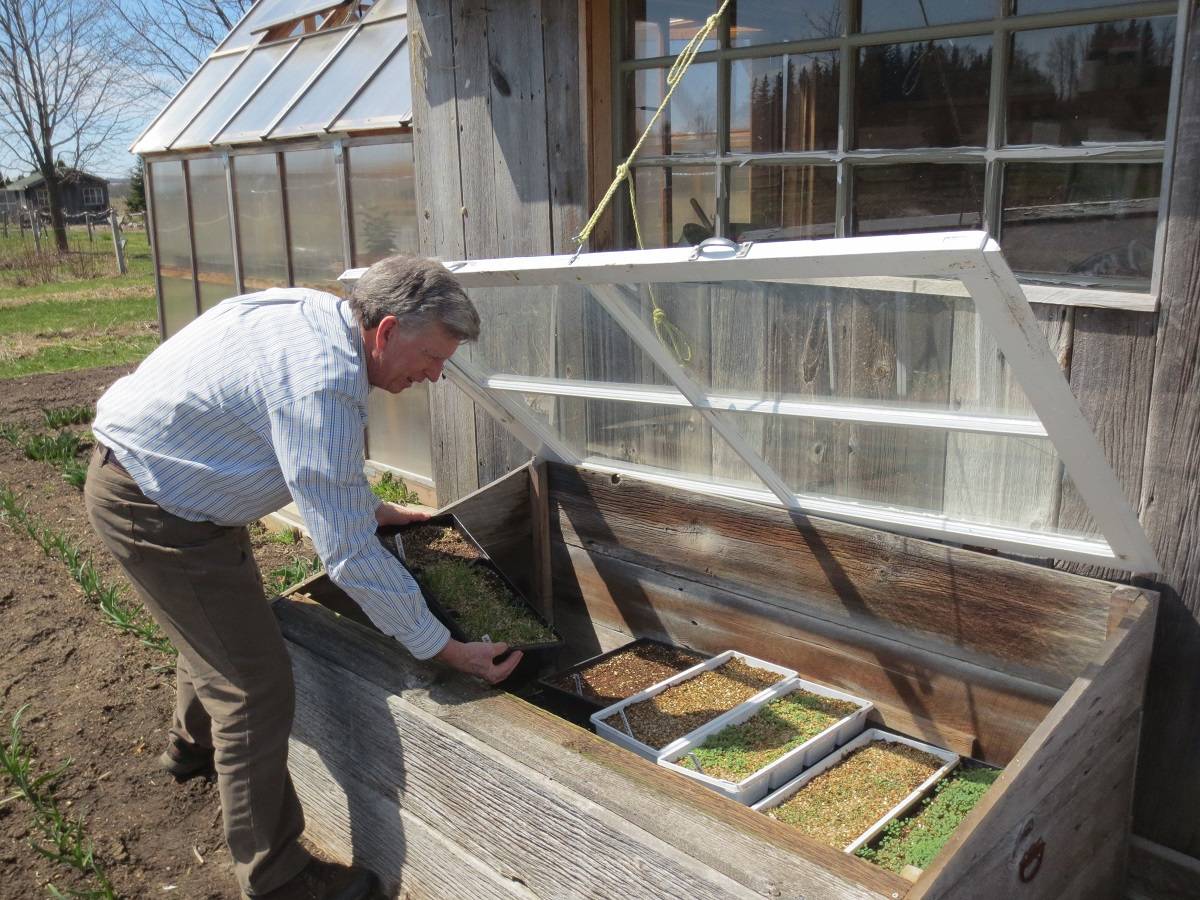
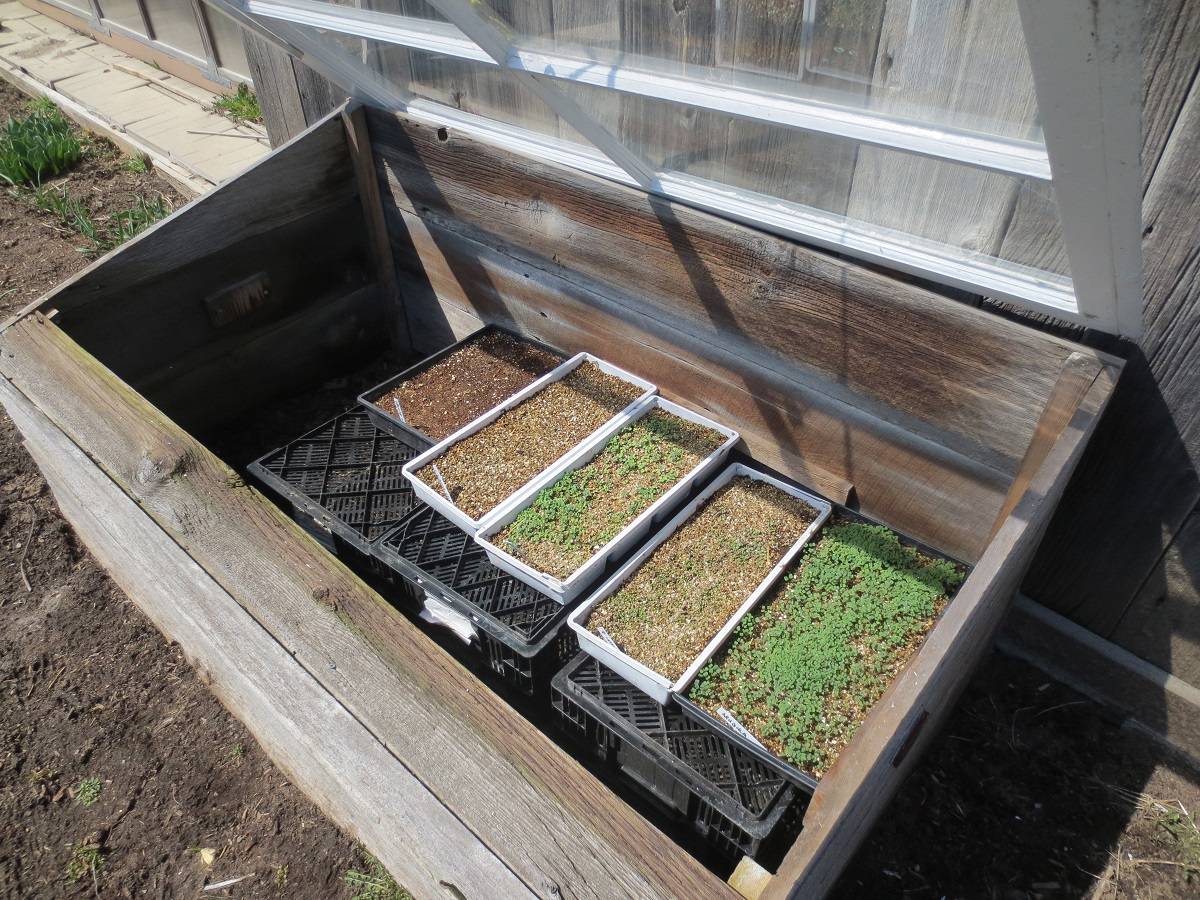
Once constructed, place the cold frame over bare ground, and then plant directly into it or use it as a place to store container-grown plants and transplants you might be hardening off in the spring. The beauty of using a cold frame for hardening off seedlings in the early spring is that you don’t need to carry the seedlings inside every night for protection from frost, since the cold frame should provide plenty of warmth leading up to the hard frosts of late fall and early winter.
4. Invest in a Greenhouse
There is a point in every gardener’s life where they dream of having their own greenhouse. At best, we imagine an orangery like those of an English estate garden, with brick foundations and wrought-iron framing. One can dream!
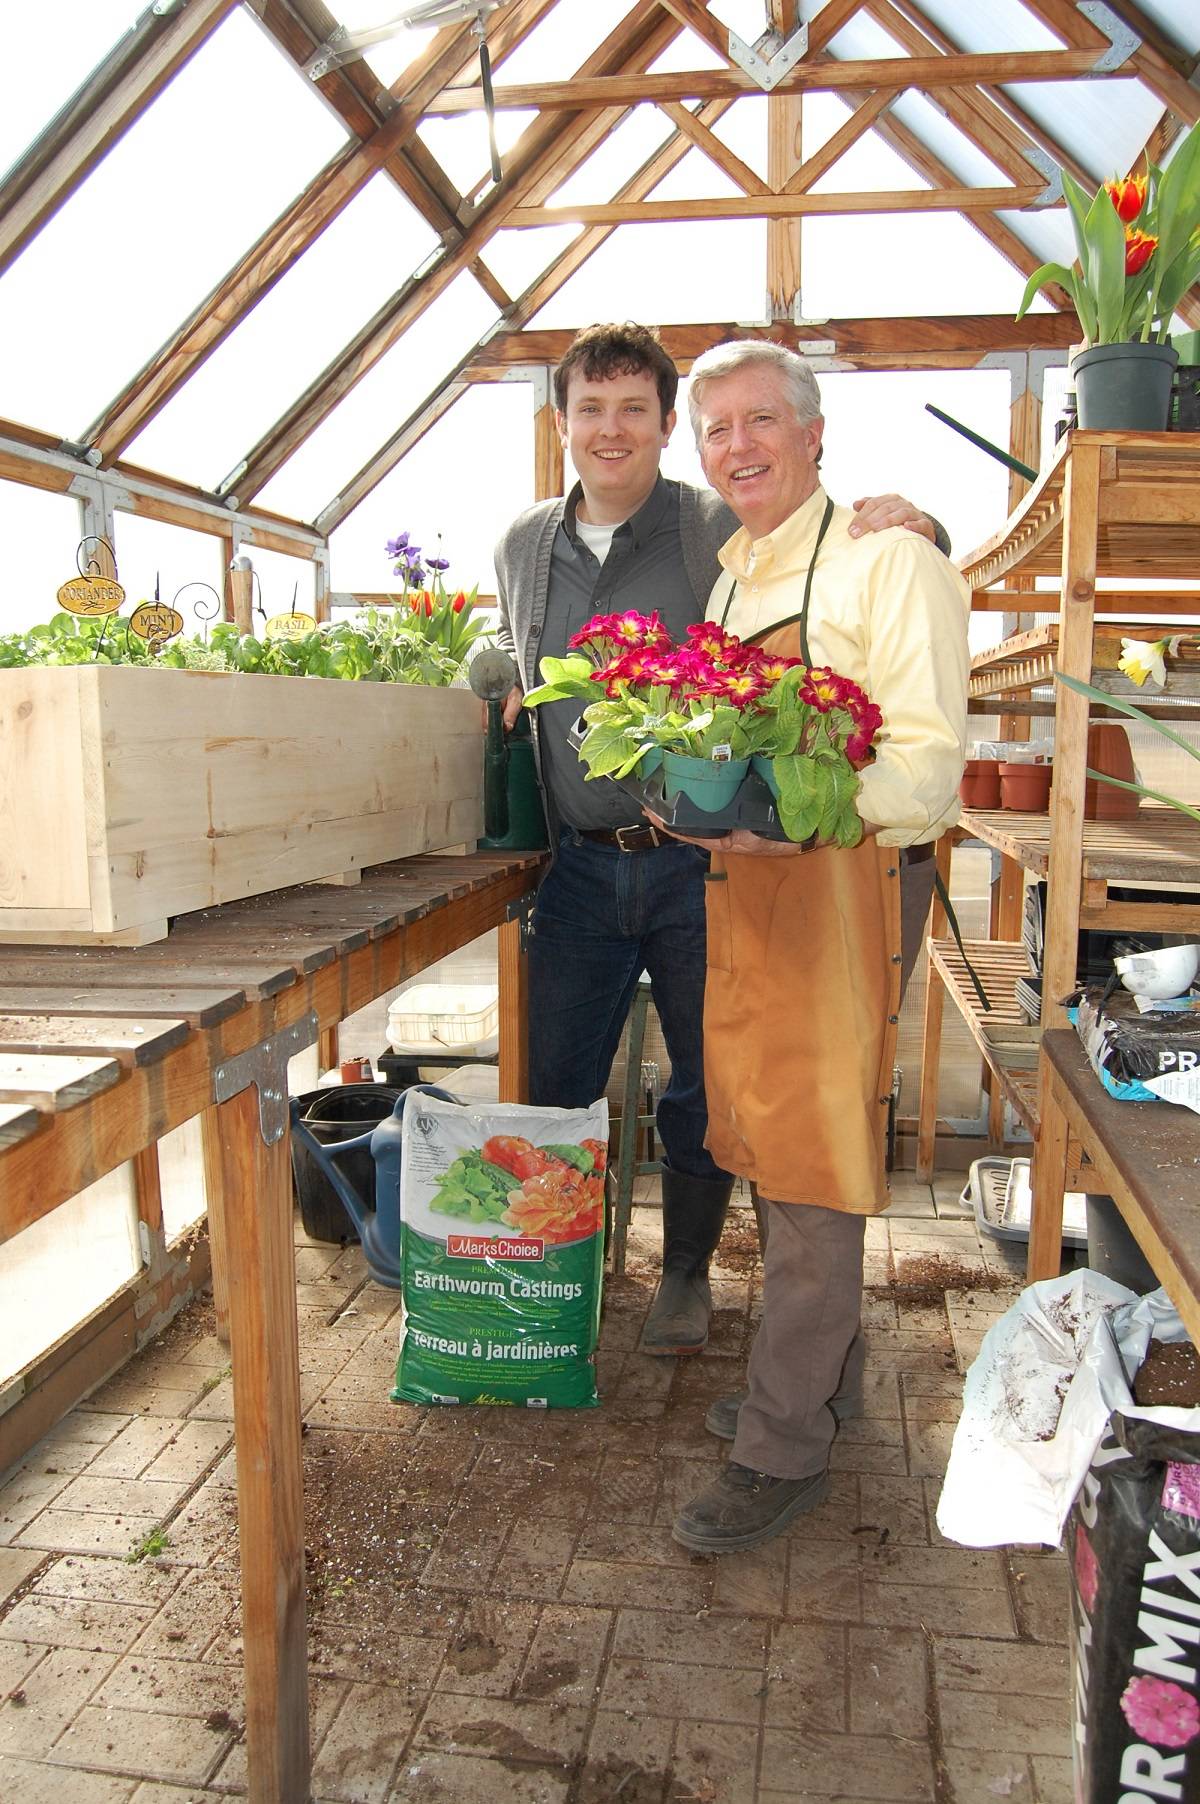
Canadian-built greenhouses often feature western red cedar frames at the high end of the market. Mark is fortunate enough to have one of these affixed to his potting shed so he can easily transplant seedlings. Western red cedar is desirable, as it requires virtually no maintenance. The wood is naturally rot resistant, not to mention the beauty of the grain and unmistakable fresh scent. A worthwhile investment, Mark’s cedar-frame greenhouse is 15 years old and hasn’t had a lick of maintenance.
If you build your own wood-frame greenhouse, keep in mind two important things: ventilation and layout. We have learned that a barrel or garbage can filled with water provides a thermal mass that absorbs heat during the day and prevents the greenhouse from overheating during the day. This works when you aren’t facing long-term freezing temperatures, at which point you will need to add artificial heat.
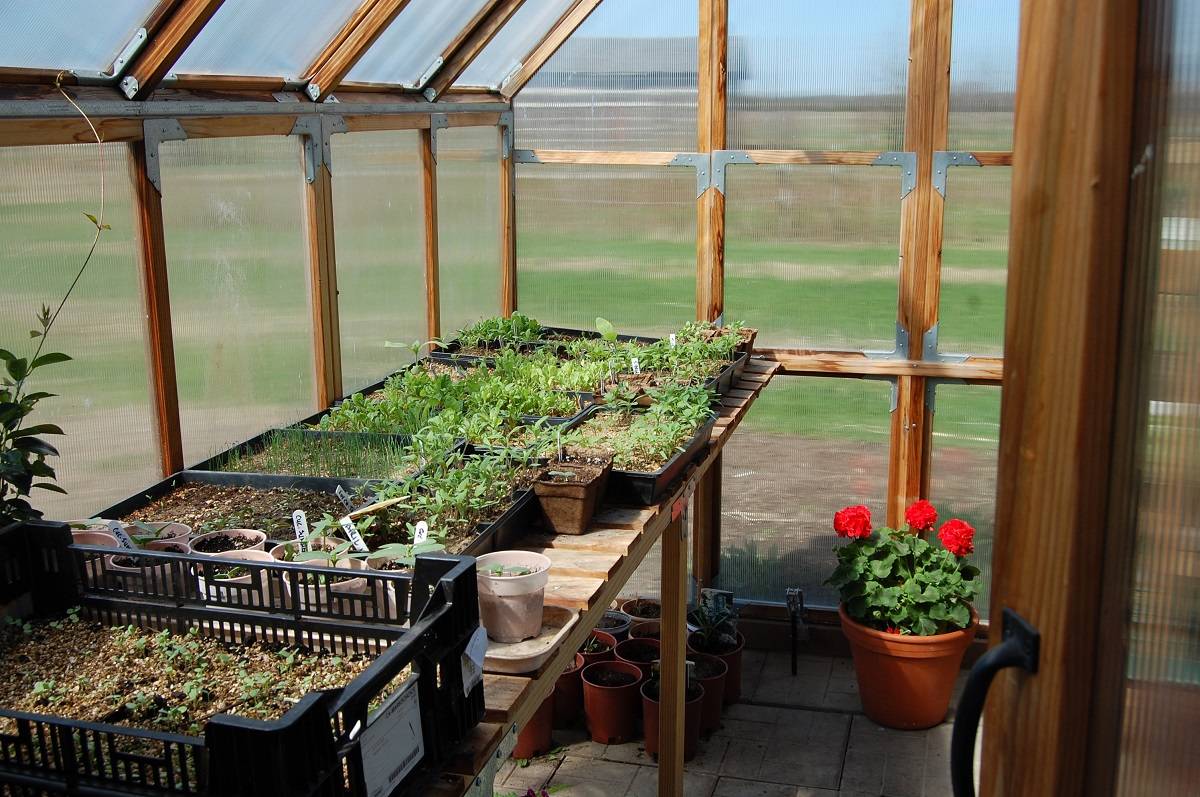
As for the layout, consider the diameter of the growing trays you are working with if you plan on growing seedlings, and determine the dimensions of your interior greenhouse based on that. Greenhouse space is a substantial investment, so it is wise not to let it go to waste.
Living in the Canadian climate forces us to be creative. With some resourcefulness and ingenuity, you can squeeze much more from your growing season.