

by Elinor Lawrence
Strange what yearnings can be acquired overseas – in our case an almost desperate hunger for dill pickles after two years in a small Andean village in Colombia where the decidedly bland diet is based on rice, yucca, potatoes and beans.
Once home, we indulged ourselves in well-spiced pickles of all sorts and soon found our jar-a-day habit to be straining the budget. Luckily it was mid-August, and a flying trip to the local farmers’ market yielded two bushels of cucumbers, fresh dill and garlic. We weren’t being gingerly this was our first attempt at canning but we had every intention of producing a year’s worth of pickles.
With an inexpensive canner from the hardware store, several cases of quart canning jars and a basic recipe clipped from a magazine, we quickly converted a small graduate-student attic apartment into a pickle works. Three steamy sessions and several beers later (no one is pretending this is cool work), we stood back and smugly admired enough sparkling rows of garlic dills and sweet pickles to last the year out.
Amazingly, they looked just like pickles and when we impatiently chilled and sampled them several days later, we found them as crisp and spicy as anything from a supermarket. With this simple success behind us, it was quickly apparent that we ought to try more exotic recipes, and that Christmas found us visiting friends and relatives with gift jars of seckel pears, apple mincemeat, corn relish, dilled beans and pickled peaches tucked under our arms.
Canning, we quickly learned, is not the mysterious process fraught with botulism and culinary hokus-pokus that people think. If you’ve never tried putting up your own food, perhaps this would be a good year to start – modest investment in time and
re-useable equipment knowledge of the basic steps.
To can pickles the first thing you’ll need is a water bath canner. This is merely a large kettle with a lid and a rack that separates the jars and holds them off the floor of the pot. (This canner also serves for all acid foods like fruits, tomatoes and juices. Non-acid foods, such as beans and peas, require a special pressure cooker for canning, and in my opinion, are better frozen.)
Whether you use the old type canning jars with glass lids and spring clamps, or the newer screw-band style, new rubber rings or rubber-edged lids must be used each year. If you’re buying new jars, keep in mind that wide-mouthed jars are easier to fill, and that most canners can’t accommodate the half-gallon size jars.
Do not use brass, galvanized copper or iron utensils for pickling. They may cause colour changes and foul the pickling fluid.
Canning goes especially easily with two or more people working together.
STEP ONE: Set out and examine your jars for nicks or cracks. Wash them in hot, soapy water, rinse, and scald – we invert them in the canner and let them steam for 10 minutes. Place the jars rim-down on a clean towel to dry. Scald the lids by pouring boiling water over them and let them sit in this bath until ready for use.
STEP TWO: Fill the canner with water, (allowing enough for one inch to cover the jar tops) and put on to boil.
STEP THREE: Start preparing the food to be canned. The food should be in prime condition – fresh picked and slightly under-ripe so that your pickles will be crisp. In most canning, a good rule to follow is “two hours from garden to jar.” However, many kinds of pickles can be stored in a brine before processing to make them firm and crisp. Prepare small quantities at a time, and work quickly so that only a few minutes elapse between packing the jars and getting them into the canner.
The food must be washed thoroughly and inspected for bad spots which may lead to spoilage. Start coring, peeling or slicing. Vinegar should be mild. Read the label. You don’t want it to contain more than 5% acid. Use pure pickling salt, not table salt, or the liquid will be cloudy.
Spices are best if they’re fresh and whole. Ground spices darken pickles. Use granulated sugar un less the recipe calls for brown.
STEP FOUR: The “raw or cold pack method”, logically enough, means packing raw or cold food into the jars, then adding boiling liquid to cover the food, and processing in the canner.”Hot pack” means that the food is pre-cooked, and packed into the jars while still hot.
Pack the food into still-hot jars. Leave half an inch of space at the top.
STEP FIVE: Wipe the rims of the jars. This is important, because a stray seed or bit of spice can prevent a seal from forming. Put the scalded lids on the jars and tighten the bands firmly. Process. Both temperature, and the time it is applied must be taken into consideration to prevent spoilage. The water should be boiling heartily when the rack full of jars is placed into the canner. Begin timing as soon as the water returns to a boil. If the water boils down, add more boiling water, being careful not to pour it directly on the jars.
STEP SIX: Remove the jars from the canner, setting them 2-3″ apart on a thick cloth and allow to cool. The screw bands will have loosened, but do not tighten them. Keep the jars away from cold drafts and do not cover them. The seal will form as the jars cool with screw-band lids you may hear them pop as they seal.
STEP SEVEN: The next day test each jar for a proper seal by tapping the lid with a spoon. A clear, ringing sound means a seal has formed, while an empty hollow sound means the pickles should be recanned or put into the refrigerator and promptly. If food is touching the inside of the lid, the sound will be dull, but not hollow like an un-sealed jar. Another seal test is to press down the center of the lid, if it is already down and will not move, it is sealed.
STEP EIGHT: The screw bands are unnecessary now. Remove them and wash and dry thoroughly. We dry them in the oven to prevent rust and to allow re-use.
STEP NINE: Wipe the jars, label, and store in a cool dry spot below 70 degrees (F). A warmer place can cause discolouration, flavour changes, and allow spoilage. If your pickles freeze, the texture may soften or the jars crack.
STEP TEN: When you break into your spicy stock, always check the seal and the odour. If you notice an objectionable smell, discard the contents without tasting it.
Our adventures in canning began with the first two recipes listed below. They were easy then and we still use them year after year because the results are consistently excellent. Hopefully you will find them just as rewarding. Good luck and good pickling.
FRESH GARLIC DILLS
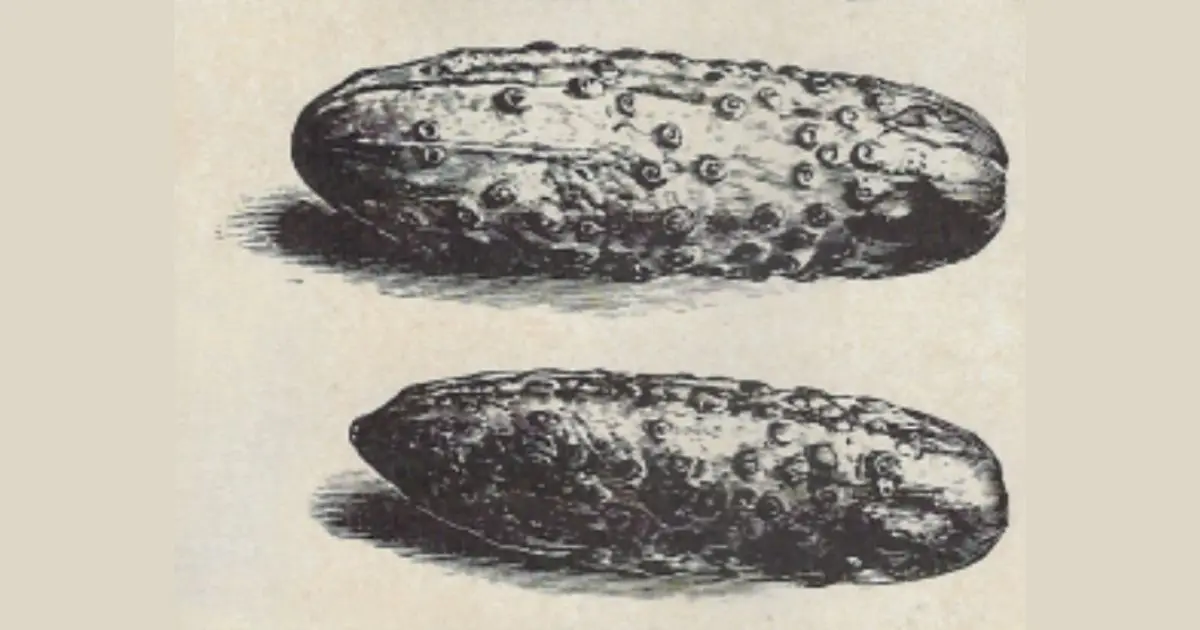
Wash 3 dozen 3″ cucumbers, cover with cold water and let stand overnight. Drain and pack into sterilized quart jars which have a layer of fresh dill, 1 sliced garlic clove, and 1½ tsp. mustard seed in the bottom. Add another sliced clove of garlic and another layer of dill to the top, and cover with a boiling brine of 3 cups white vinegar, 3 cups water and 6 tbsp. salt. Close jars and process 15 minutes.
SWEET AND SOUR MIXED PICKLES
- 4 pounds small cucumbers cut into chunks.
- 4 pints tiny onions – peeled
- 4 medium head of cauliflower cut into flowerets
- 1 cup salt
- 12 cups white vinegar
- 4 cups water
- 8 cups white sugar or substitute
- 4 tbsp. mixed pickling spice tied in a cheesecloth bag.
Combine vegetables and salt. Cover with ice cubes and let stand 3 hours. Drain well. In a combine vinegar, large pan, water, sugar and spices. Heat to the boiling point and simmer 5 min. Remove spice bag. Add vegetables and boil gently 2 min.
Pack in hot jars and cover vegetables with hot liquid. Close jars and process 5 minutes.
CORN RELISH
- 6 cups corn
- 4 cups chopped cucumber or 2 cups cabbage
- 4 cups chopped celery
- 4 cups chopped ripe tomatoes
- 1 cup each of chopped green and red pepper
- 4 cups chopped onions
- 3 tbsp. salt
- 2 tbsp. dry mustard
- 1 tbsp. tumeric
- 5 cups cider vinegar
- 2½ cups brown sugar
Mix ingredients and simmer uncovered until thickened (about 40 min.), stirring occasionally. Pack into pint jars and process 5 mins.
PICKLED EGGS
- 2 dozen eggs
- 6 cups white vinegar
- 3 cups water
- 1 tbsp. salt
- 2 tsp. peppercorns
- 4 tsp. mixed pickling spices tied in a cheesecloth bag.
Hard-boil the eggs and cool them immediately in cold water, for easy peeling. Bring the other ingredients to a boil, simmer 10 minutes, and cool. Shell the eggs, pack into sterilized pint jars and cover with cooled brine. This is one recipe you don’t process. Merely close the jars tightly.
SPICED CRABAPPLES
- 3 cups brown sugar
- 3 cups white sugar (or substitute)
- 6 cinnamon sticks
- 2 tbsp. whole cloves
- 3 cups white vinegar
- 6 quarts fresh firm crabapples
Combine sugars, vinegar and spices, which have been tied in a cheesecloth bag. Leave stems on and do not peel. Syrup may be tinted with red food colouring.
Drop crabapples into hot liquid and simmer until just barely tender. Remove fruit and pack into hot jars. Bring syrup to at boil and pour over crabapples.
Close jars and process 5 min.
Peaches and pears are pickled much the same way.
TOMATO CATSUP
- 18 pounds ripe tomatoes
- 2 c. chopped onions
- 1½ c. chopped sweet pepper
- 2 c. sugar or substitute
- 6 tbsp. salt
- 3 c. vinegar
- 4 cinnamon sticks
- 1 tsp. whole cloves
- 4 tsp. whole allspice
- 3 tsp. mustard seed
- 2 tsp. celery seed
Wash tomatoes, core and cut into pieces. Combine tomatoes, onions, and peppers and cook 20 minutes. Press pulp through a fine sieve. Tie spices in a cheesecloth bag and add remaining ingredients. Boil until thickened.
Remove spice bag and pour into hot jars. Process 15 minutes.
Once you’ve mastered the hotwater canner, you’re prepared to put up any food that contains acid. Stock up with stewed tomatoes, fruit juices, spicy chutneys and your own pie fillings.
Interesting recipes can be found in any good cookbook, (I swear by The Fanny Farmer Cookbook) or books put out by the vinegar and canning jar manufacturers.
Originally published 50 years ago in 1976. Some information may be inaccurate or no longer relevant.