

Gardening editors Mark and Ben Cullen share their tips and tricks for growing beautiful flowering bulbs in the winter.
Early in winter, stores fill up with pots full of flowering daffodils, tulips, crocus and the like. They are so prolific that they must be easy to force into bloom, right? After all, come autumn, all we do is dig a hole, plop the bulb in with the pointy side up and bury it. They always seem to bloom when treated this way. Not so fast.
There is a process that occurs underground in the late fall and early spring that triggers the bloom of winter-hardy Holland bulbs. Producing pots full of colour using the same bulbs in winter takes time, effort and knowledge.
The term used to describe the preparation of bulbs for blooming is “cold stratification”—a cold and damp period that occurs naturally in every growing zone in Canada, which is why we grow great springtime gardens. If you lived in a southern climate like California or Florida, the results are never the same or as satisfying as they are right here, in the cold north.
Holland bulbs are generally easy to find at Canadian retailers in the fall. As winter approaches, garden retailers usually discount their remaining inventory. If you are buying the bargain bulbs, be sure to inspect them for rot or mildew, which will slow the development of the bulbs into flowering plants or stop it altogether.
Here is a recipe for great-looking pots of flowering bulbs this winter and early spring:
- Use pots that have adequate drainage. Bulbs will rot if they have “wet feet” for more than a day or two. Use a soilless potting mix that drains well, not soil from your garden or one designed for garden use.
- Arrange the bulbs, pointed-side up, in the potting mix, separating each bulb about a centimetre or so. If one bulb rots, it will not spread to the other bulbs. Plant each bulb about one-and-a-half to two times deep as the bulb is thick, measured top to bottom.
- Cover the bulbs with the soil mix and firm with your knuckles or wrist, eliminating all air pockets.
- Water thoroughly once planted and continue to water as the top centimetre of soil becomes dry.
- Store the pots of planted bulbs in a cool, dark place. Temperatures can range from 2 degrees to 5 degrees Celsius. The ideal place to store potted bulbs during their stratification period (eight to 16 weeks) is a refrigerator. You can store them outside under straw bales or insulating blankets, but keep in mind temperatures that cause the pots to freeze solid merely stops the stratification process. The bulbs live in suspended animation during a deep freeze. Gardeners in zone 6 and up have an easier time with outdoor storage than Canadians living in the coldest regions of the country. If space in your refrigerator is a problem (which is highly likely for most of us), consider leaving your potted bulbs outdoors until the sub-freezing temperatures arrive and then move them indoors to the fridge or a cold cellar.
- After eight weeks of cold treatment, move some of your bulbs into the warmth of your living space by a sunny window. For most bulbs, the sign that they are ready to be forced into bloom is the early growth of the flower stem pushing through the soil.
- As the first pots of bulbs begin to grow and bloom, bring more of your potted bulbs into the living areas of your home.
- Water as the soil dries below the surface of the soil.
Almost all spring flowering bulbs can be forced in this way, but you can take a shortcut with bulbs that are labelled “suitable for forcing” when you buy them. These bulbs have been cold-treated to produce a bloom faster than non-treated varieties.
Guaranteed results
There are bulbs that bloom reliably without the cold treatment. They originate in tropical areas like South Africa and South America but are generally grown commercially in the Netherlands, where the Dutch have perfected the hybridizing and processing of today’s most popular varieties.
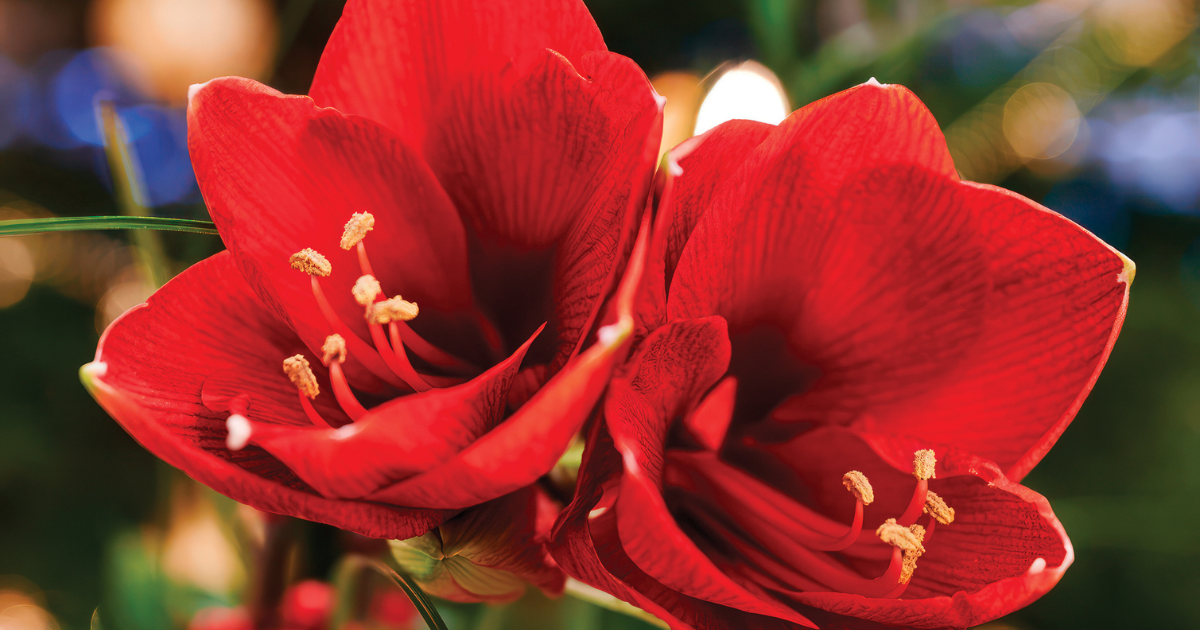
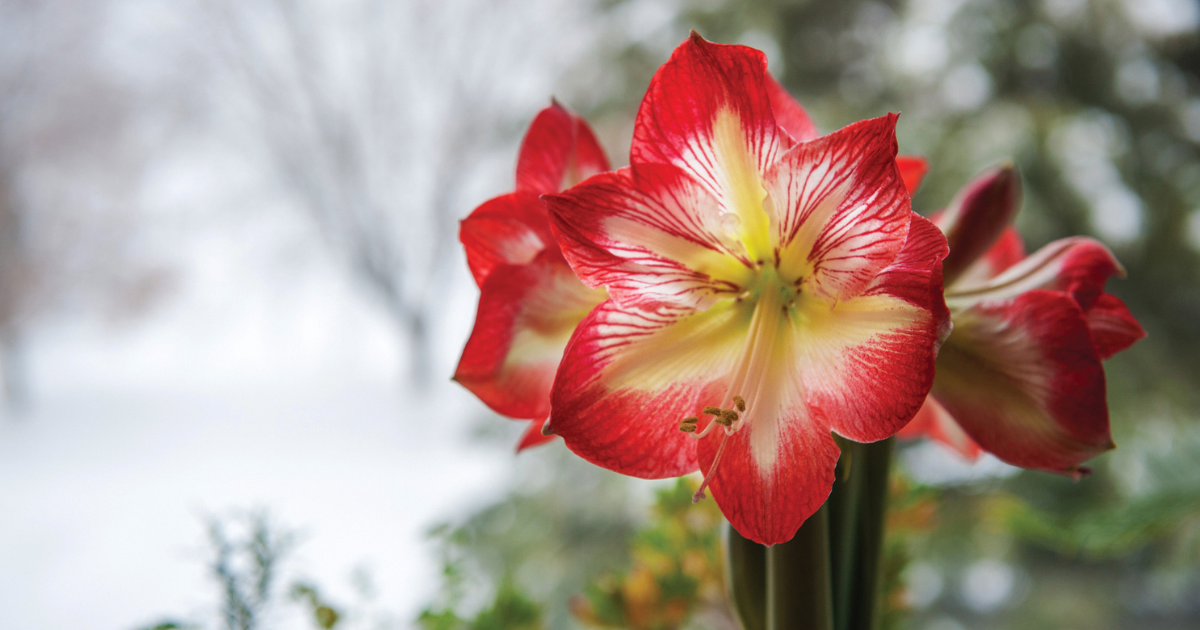
Amaryllis and paperwhite narcissus top the list of easy-to-force indoor flowering bulbs.
The large multi-blooming trumpet-shaped flowers of amaryllis are a thrill to watch grow and bloom. A large bulb will often produce two or three stems of four or five blooms per stem—a virtual fireworks display of colour in slow motion. Look for the larger bulbs, which cost more than the smaller versions, but for our money, they are worth paying the difference for the
performance achieved.
Place the bulb in a flowerpot that is a centimetre or two larger in diameter than the bulb. Fill the pot two-thirds full of soilless mix and “screw” the bulb into the soil, making sure it is in firm contact but only one-third deep. Two-thirds of the bulb should sit securely above the soil. Later, as the shoots mature, you will need to secure the top-heavy bulb in place so that it does not topple over.
Amaryllis require room temperatures to get started—the warmer they are, the sooner they start to grow. When they begin to bloom, move them away from direct sunlight into a cooler part of the house, where the bloom time will be extended. Once they have finished blooming, continue to water them as the soil becomes dry, and cut off the finished flower stems. The leaves are the food factory of the bulb, and with a little care, you can encourage your amaryllis to bloom again next season.
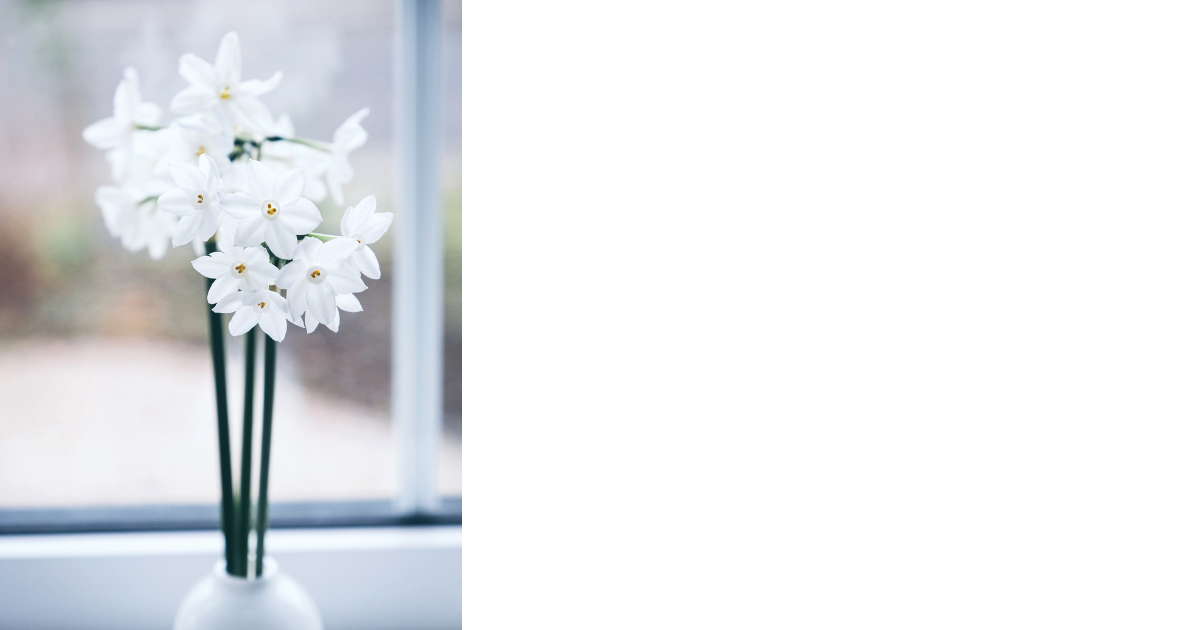
Paperwhites
Smaller flowering paperwhite narcissus are equally easy to grow and provide a strong odour. Push paperwhite bulbs into the surface of the soil deep enough to anchor them there. No need to bury them as you would winter-hardy bulbs. We recommend placing several paperwhite bulbs in a pot rather than just one—they look better clustered together and are
more stable.